15 Wildlife and Safari Photography Tips
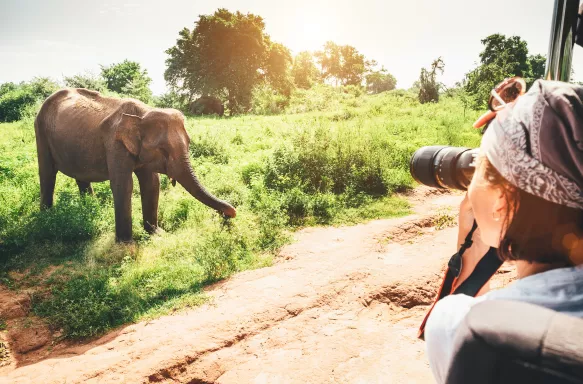
Make the most of a safari or wildlife holiday with our expert photography guide for capturing amazing images.
Capturing perfect holiday memories in photos is a fantastic way to look back over a wonderful trip – especially when on safari or a wildlife holiday. Stunning images of exotic wildlife at home in lush, vivid vistas are a real highlight and a far cry from traditional holiday snaps.
Immerse yourself in the natural habitat of some of the world’s most majestic animals on our wildlife and safari holidays, include trips of a lifetime to South Africa, Sri Lanka, India, and Costa Rica.
Wildlife photography can be incredibly rewarding. Witnessing animals in their natural habitat, seeing them play, rest and explore their environments can allow you to recreate the kinds of photos that wouldn’t look out of place in National Geographic. It’s worth knowing that wildlife photography can take a bit more work than usual holiday photos, but with some preparation and know-how, you can elevate your photography from predictable landscape shots into more visually rich and exciting imagery.
While it can be hard to match award-winning wildlife images taken by professionals, who have often spent weeks trying to capture the perfect shot, our safari and wildlife photography tips can help you take better photos and create memorable images that will last a lifetime.

Wildlife And Safari Photography Tips
1. Use The Right Camera
While mobile phone cameras are today genuine alternatives to expensive digital SLR cameras, a mobile phone will struggle to capture great wildlife photography. Mobile phone lenses are hampered with low zoom levels, preventing you from zooming in close on an animal. Rather than rely on a mobile phone when heading off on safari, we’d recommend a more traditional camera with a decent zoom length and as much manual control as possible. There are several types of camera to choose from:
- Digital SLR – short for ‘Single Lens Reflex’, these are the types of camera used by wildlife photography experts. They allow the lens to be changed, such as swapping between a zoom lens for close-up shots and a wide-angle for landscape shots. They also include slots for accessories such as a flash and offer plenty of manual settings that give you fine control over your shots. They can be very expensive, however.
- Bridge camera – Cheaper than an SLR, these are a halfway house between a smaller digital compact and a digital SLR. They usually have a fixed lens that can’t be changed but do have a very long zoom length so you can get close to the action, as well as a reasonable degree of manual control. Look for dust- and weather-proof cameras to prevent dirt from getting into the lens or camera body.
- Compact digital camera – The cheapest and most pocketable digital camera. These make great travel options as they can fit easily into pockets and bags, are easy to operate, and include helpful automatic settings to help you shoot better photos. However, they are slower than the other types of camera, meaning you can potentially miss out on a crucial moment, have less manual control, and lower zoom levels.
2. Get The Right Lens
It might seem overkill, but you’ll need the longest zoom lens possible for wildlife photography. Many keen photographers will take a telephoto lens with their digital SLR camera, as often you’ll be photographing wildlife from long distances. Look for optical stabilisation on the camera or lens; this minimises the effect of shaking hands. This feature can be expensive, and a cheap tripod will do the trick just as well. It’s worth checking if your camera has a macro lens or setting – this allows you to take close-up shots such as of insects or flowers.
3. Support Your Camera
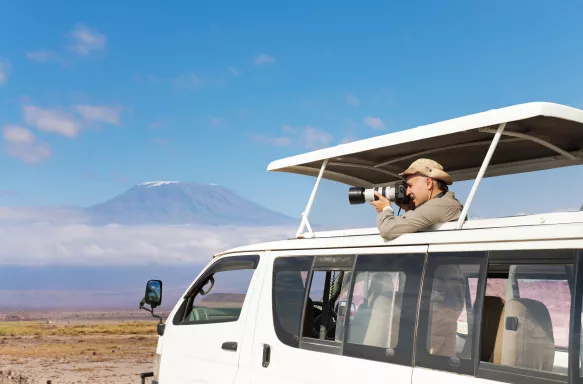
A tripod is an essential piece of kit. You don’t need a cumbersome, full-sized tripod either. Invest in a small, cheap tripod that can be balanced on a flat surface, or a tripod clamp that can anchor to the frame of a jeep while driving, for example. An even cheaper solution is to use a small beanbag – take it empty and fill with dried beans or sand once you arrive.
4. Make Sure You Have Plenty Of Storage Space
It’s not unusual to take hundreds – even thousands – of photos while on safari or a wildlife holiday. With high-quality photos taking up as much as 20MB per photo, you can soon be pushed for storage space. Buy spare memory cards that fit your camera, and ideally upload them to a laptop when back from a day’s photography. Some digital cameras have built-in Wi-Fi, which means you can upload photos to online storage services, freeing up space and keeping images safely stored.
5. Keep Your Camera Safe
Safari and wildlife photography can involve dusty landscapes, sudden downpours, and dirt. It’s worth buying a weatherproof camera bag. Check it can hold your camera, memory cards, spare batteries and accessories. On a budget? A cloth, drawstring bag can help keep smaller cameras dust-free.
6. Read The Manual
There’s nothing worse than battling your way through camera settings while trying to capture a fleeting moment. If you buy a new camera, take time to read the manual and get to know the various settings before you travel. Practice at home and familiarise yourself with menu settings, photo modes, and how to operate essentials such as the flash, so it becomes second nature.

7. Learn About Shutter Speed, ISO, And Focus
It pays to know the basics of three settings that have an impact on wildlife photography – ISO, shutter speed, and focus.
- ISO – This is a setting that determines how much light is captured. Lower ISO settings, such as ISO 100, result in sharp photos with little noise in well-lit conditions. Poorly lit conditions require a higher ISO setting to capture enough light, but the trade-off is that photos may suffer ‘noise’ (tiny specks of discolouration similar to the grain seen in film photography) on higher ISO settings. A good compromise is to use an ISO 800 setting for lower-light conditions.
- Shutter speed – Animals can move quickly, so you need to select a high shutter speed. This prevents blurring and means you won’t miss a crucial moment. Slower moving animals need a slower shutter speed, which also captures more detail and light.
- Focus – Many cameras will include an autofocus setting, and this is ideal for wildlife photography. Used well, it will track an animal moving while keeping it in focus and blurring out the background.
8. Show The Environment
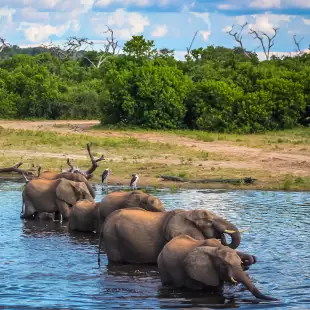
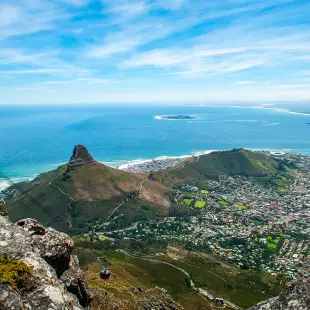
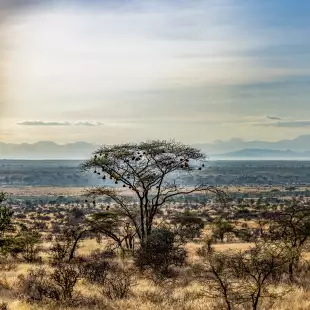
It can be tempting to zoom into a distant animal and have it entirely fill the frame. Good wildlife photographers know to ease off from an over-reliance on zoom. Instead, take a few wide-angle shots that include backgrounds, landscapes, and include some of the animal’s habitat. It provides context by showing the animal in its natural environment.
9. Get As Close As Possible
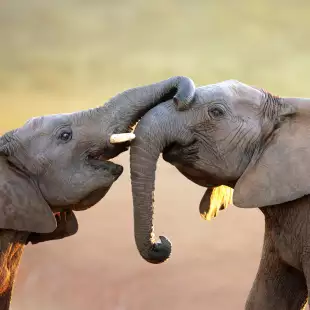
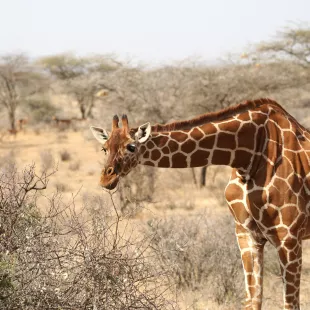
Alternatively, consider using your zoom lens to get as close as possible to the animal. The aim is to bring out the features, expression, and personality of an animal. Focus on the face or markings and fill the frame by zooming in as much as possible.
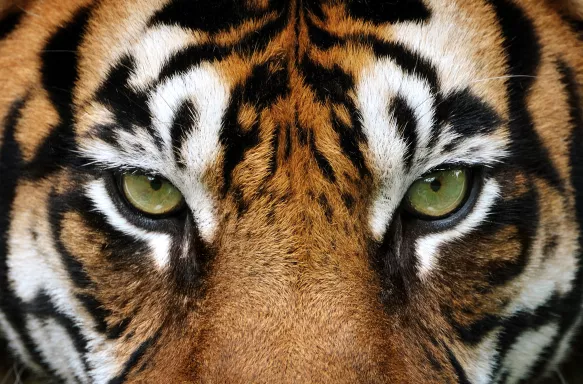
10. Take A Different View
Avoid photos taken from more obvious locations. Try shooting from a different angle, such as kneeling, so you get down to the eye-level of the animal itself. Animals shot from a high-level or from very low down add a sense of drama. Check with the ranger what’s possible – many safaris understandably require you stay in your vehicle.
11. Use Different Times Of The Day
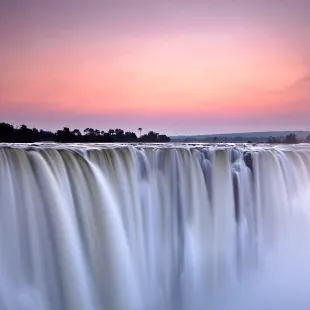
Different times of the day can result in dramatically different photos of the same scene or animal. Different lighting – such as the blue of dawn or the red haze of dusk – create beautiful natural lighting effects that transform wildlife photography. Cloudy weather is actually a photographer’s friend and is an ideal lighting condition for day-long photography. The midday sun is best avoided when taking photos as the overhead sun eliminates shadow and flattens images, losing depth.
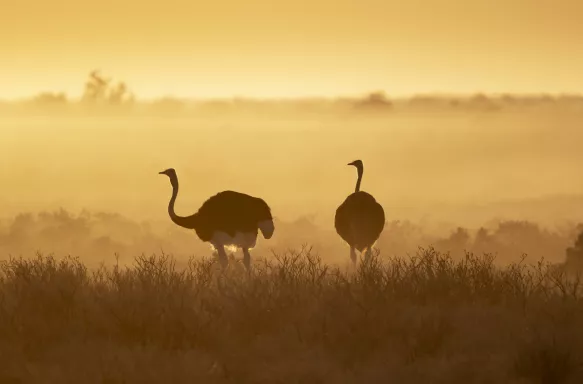
12. Be Patient
Unlike tourist snaps of static buildings, animals are rarely accommodating. The best advice is to be patient while waiting for that perfect shot. If possible, try to stay in a single location for some time watching animals interact, play, feed, and move. Taking plenty of photos can produce some unexpected images that look incredible.
13. Don’t Forget Other Animals
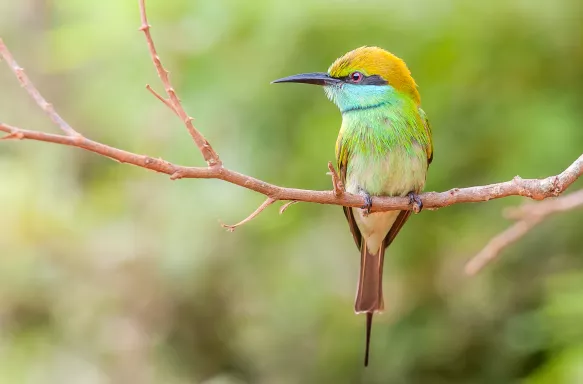
Most people on safari are – understandably – keen to tick off photos of the Big Five, but don’t overlook the incredibly diverse array of other wildlife you’ll encounter. Keep your camera close to capture colourful displays from insects, smaller animals, and flora.
14. Take Care With Noise
Remember that wildlife can scare easily and flee at unexpected sounds. Keep quiet when approaching animals, take time, and avoid sudden movements and sounds. Make sure your camera is set to silent mode. The bleeps and whirrs of a camera can startle animals and cause them to flee.
15. Keep Safe
While our escorted safari tours are safe and you’re in expert hands, remember to always follow instructions from your guide or park ranger. Travelling in groups and staying on your jeep is a must, as well as sensibly keeping hands away from animals. The joy of a safari is to see wildlife in its natural habitat, but the flipside is to remember that wild animals may behave unpredictably.

Enjoy A Safari Photography Holiday
Experience the thrill of a safari holiday and the chance to capture incredible images on our wildlife and safari holidays, including truly memorable escorted tours to India, South Africa, Costa Rica and Sri Lanka.
If you have any questions, please do not hesitate to contact us.
